


The secret to a long, happy candle life isn't a secret at all—it's about getting that very first burn just right. You need to let the melted wax pool reach the very edge of the container. This simple act sets the candle's "memory" and is your best defence against tunnelling down the road. After that, keeping the wick trimmed to a neat 1/4 inch and placing your candle away from drafts are the keys to a consistently clean and beautiful burn.
Why Your Favourite Candle Is Not Burning Right
Have you ever been so excited to light a new candle, only to watch in dismay as it carves a deep crater right down the middle? That frustrating issue is called tunnelling. It leaves a thick, wasteful ring of wax clinging to the sides of the jar and is the number one reason a candle's life gets cut short. It’s a sight that makes any candle lover sigh.
But here's the good news: getting that perfect, edge-to-edge burn isn't about luck. It’s about science, and it comes down to a few simple but crucial habits. An even burn means you get to enjoy every last drop of the fragrant wax you paid for, maximizing your candle's lifespan and its beautiful scent throw. Once you understand the fundamentals, you can turn a frustrating candle experience into a flawless one.
The Core Principles of an Even Burn
So, how do you make a candle burn evenly every single time? It really boils down to three foundational pillars of candle care. Get these right, and you’ll prevent tunnelling, reduce soot, and help your favourite fragrances fill the room just as they were meant to.
These key practices are:
- The Memory Burn: That very first light is the most important. You need to let the wax melt completely across the surface to create a "memory" for all future burns.
- Consistent Wick Care: A wick that's too long or has a "mushroom" of carbon buildup will create a big, smoky flame. Trimming it regularly is non-negotiable for a clean, steady burn.
- A Stable Environment: Where you place your candle matters more than you might think. Drafts from windows or vents and uneven surfaces are the silent enemies of a perfect flame, causing the wax to melt unevenly.
By paying attention to these details, you shift from just lighting a candle to truly curating your home's ambiance. A well-cared-for candle doesn't just look better; it performs better, offering a superior and safer fragrance experience.
This guide will walk you through these practices step-by-step, providing practical tips to turn candle care into a simple, enjoyable ritual. For those who want to dive deeper into what makes a great candle, you can explore our complete guide to healthier home fragrances, which explains why premium materials like soy wax are essential for a superior burn. This knowledge will empower you to get the most from every Shivora Candle, ensuring a beautiful, even burn from the first light to the last.
Mastering the Critical First Burn
The very first time you light a new candle is by far its most important moment. Think of it as training your candle for a long, beautiful life. This initial burn sets the stage for every single burn that follows, all because candle wax—especially natural soy wax—has a memory.
This "memory burn" creates a blueprint for how the candle will behave from then on. If you blow it out before the melted wax reaches the edges of the container, you’re setting it up for tunnelling. On every subsequent burn, the wax will stubbornly refuse to melt beyond that initial ring, leaving a frustrating and wasteful layer of hard wax along the sides of the jar.
The Science Behind Wax Memory
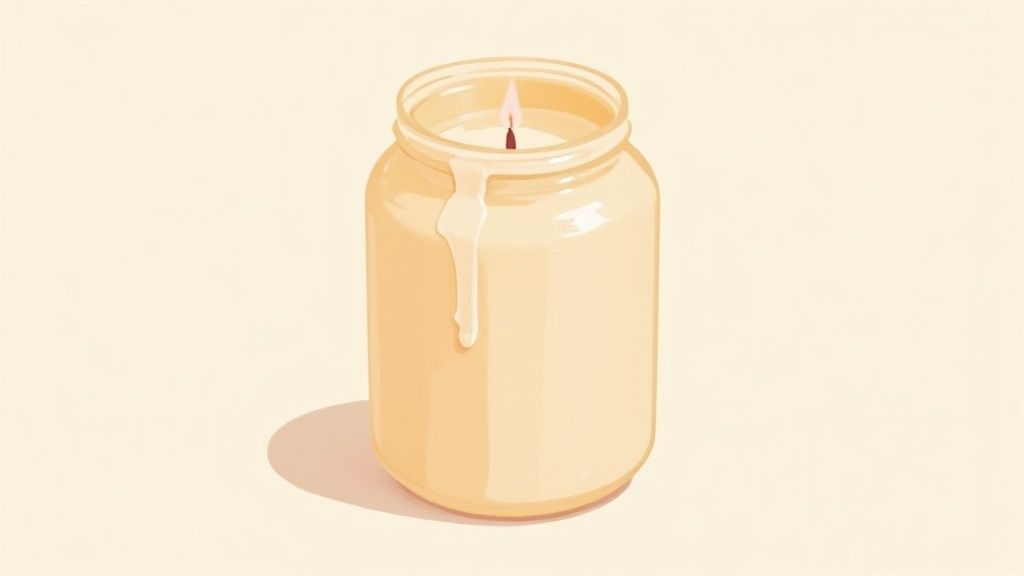
It’s a simple concept. When you light a candle, the flame melts the wax around the wick, creating a liquid pool. For a perfect, even burn, this pool needs to stretch all the way across the surface, edge to edge. This is what ensures the wax level drops uniformly every time you light it.
But if that first burn is too short, the wax only melts in a small circle right in the centre. The next time you light it, the flame will struggle to generate enough heat to melt that hardened outer ring. Instead, it just burns straight down, digging the tunnel deeper and deeper.
Getting this first burn right is the single most impactful thing you can do to guarantee a long, fragrant life for your candle. A successful first burn prevents wasted wax and ensures you get every bit of value and scent from your investment.
This is a massive frustration for candle lovers. In fact, tunnelling is one of the biggest consumer complaints. In markets like the US, where the candle industry was projected to hit $2.24 billion in revenue by 2025, performance issues are a big deal. In 2023, roughly 65% of candle-related issues reported in some regions were due to tunnelling, often caused by an incorrect first burn or a poorly chosen wick. You can see more on these trends and consumer habits with data from Statista.
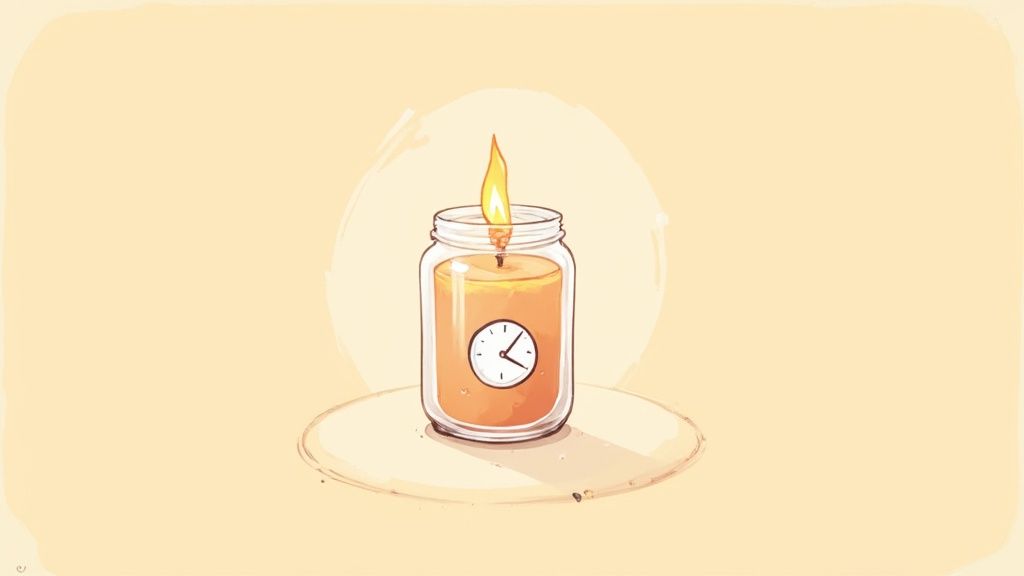
The Simple Rule for Burn Time
So, how long is long enough? The golden rule is wonderfully simple and effective: allow your candle to burn for one hour for every inch of its diameter.
- A 2-inch diameter candle needs to burn for at least 2 hours.
- A 3-inch diameter candle needs to burn for at least 3 hours.
- A 4-inch diameter candle needs to burn for at least 4 hours.
For most standard container candles, including ours at Shivora, this means you should plan for a 3-4 hour session the first time you light it. Pick an afternoon or evening when you know you'll be home to keep an eye on it. Trust me, this initial commitment pays off hugely over the candle's lifespan.
This timing is especially crucial for softer waxes like soy. Because soy has a lower melting point, it's more prone to creating a memory ring if you cut that first burn short. You can learn more about its unique properties in our ultimate guide to soy wax in candles.
What If You Can't Commit to a Long Burn?
Life happens, and sometimes finding a four-hour window is impossible. If you absolutely have to extinguish the candle early on its first go, don't panic. You might be able to salvage it on the second burn.
The next time you light it, just be prepared to let it burn for an extended period. The flame will need that extra time to generate enough heat to finally melt the stubborn ring left over from before. You could also try the aluminum foil trick (which we’ll cover later) to help trap heat and melt that residual wax.
Still, prevention is always the best strategy. Try to save that exciting first light for a time when you know you can see the memory burn all the way through.
The Simple Habit of Wick Maintenance
If the first burn sets the stage for your candle’s life, then consistent wick care is the simple habit that keeps the performance going. It’s amazing how many common candle problems—from that ugly black soot on the glass to a flame that sputters and dances wildly—all point back to one thing: a wick that’s too long. Skipping this tiny step is the quickest way to ruin a perfect first burn.
Think of it this way: an untrimmed wick is like a straw that’s too wide, pulling up more melted wax than the flame can actually burn. This imbalance creates a big, unstable flame that flickers all over the place. That means uneven heat, which can fast-track tunnelling and undo all the careful work of your initial memory burn. It’s also what causes incomplete combustion, producing the smoke and soot that stain your beautiful candle jar.
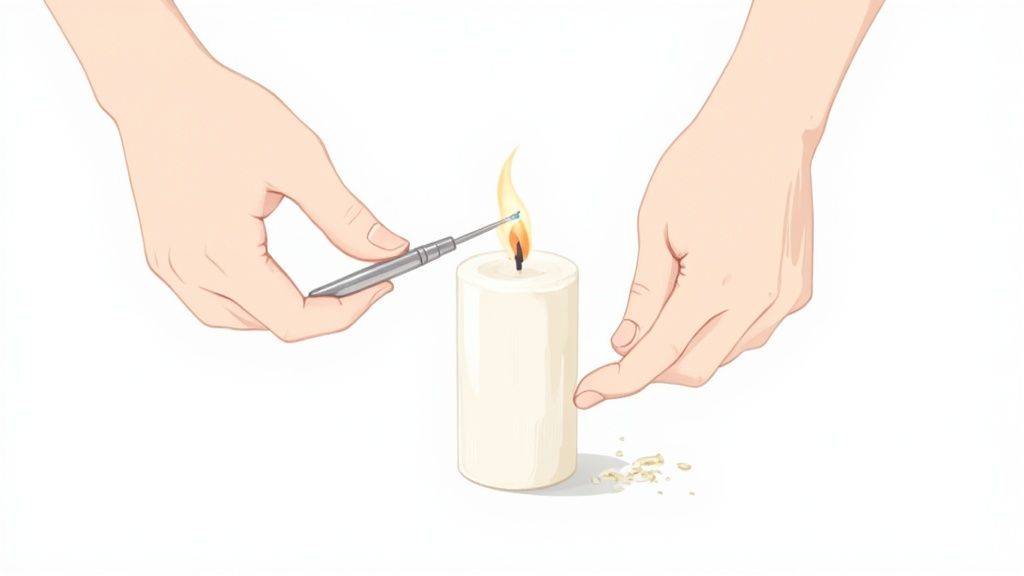
Finding the Sweet Spot for Wick Length
To get that clean, even burn we all want, you have to trim the wick before every single use. This isn't just a friendly suggestion; it's the golden rule of candle care that really separates the pros from the novices. The goal is a short, tidy, and consistent wick every time you light it.
The magic number here is 1/4 inch (or about 6mm). Keeping your wick at this length ensures the flame stays at its optimal size—small, controlled, and perfectly teardrop-shaped. A flame like this generates a steady, gentle heat that melts our soy wax evenly across the entire surface, stopping new tunnels dead in their tracks. It’s a simple act that takes five seconds but pays off big time in your candle’s performance and lifespan.
Why You Must Remove the Mushroom Top
Ever notice that black, bulbous blob at the tip of your wick after you've burned your candle? In the candle world, we call that "mushrooming." It's just a buildup of carbon that naturally accumulates, but leaving it there is a huge mistake.
That little mushroom top is super flammable and acts like a cap, messing with the flow of wax up the wick. This is what causes the flame to sputter, smoke, and burn way too bright and hot.
Trimming the wick isn't just about making it shorter; it's about getting rid of this carbon buildup. It gives your flame a fresh, clean start for a pure burn that preserves the true scent of your candle.
So before you light up, always make sure to snip off that mushroomed tip. This ensures the flame is burning the wax and fragrance as intended, not the carbon leftovers from last time.
The Right Tools for a Perfect Trim
Sure, you can use a pair of nail clippers or small scissors in a pinch, but they can get pretty awkward, especially as the wax level drops lower in the jar. They also have a tendency to crush the wick's fibres instead of making a clean cut, which can mess up the next burn.
For the cleanest and safest cut, a dedicated wick trimmer is your best friend. These tools are designed specifically for the job and have a few key advantages that make them well worth it:
- Angled Design: They're built to reach deep into candle jars easily, so you won't accidentally dig into the wax surface.
- Debris Tray: Most trimmers have a clever little built-in tray that catches the clipped bit of wick, keeping that black debris from falling into your clean wax.
- Precise Cut: They give you a sharp, clean snip every time, setting your wick to the perfect height for a flawless burn.
Investing in a quality tool makes this essential step totally effortless. If you’re curious to see how much of a difference they make, we have a great overview of the benefits of using a dedicated candle wick trimmer that you might find helpful.
And what if you accidentally trim the wick too short? Don't panic; it’s usually an easy fix. Just take a paper towel and carefully absorb a small amount of the melted wax right around the wick. This will expose a bit more of it, and after a short burn, it should be back to normal.
Setting the Stage for a Perfect Burn
So, you’ve nailed the first burn and made wick trimming a ritual. Excellent. But there’s one more piece to the puzzle of an even burn: the setting. Think of your candle like a plant—it needs the right environment to truly thrive. Where you place it makes all the difference in the world.
Often, the hidden culprits behind flickering flames or a lopsided melt pool are environmental. The good news is that a few simple tweaks to your candle's surroundings can protect your investment and guarantee a beautiful, consistent burn every single time.
Avoid Drafts Like the Plague
If a steady flame has one mortal enemy, it’s moving air. Placing your candle near an open window, a ceiling fan, an air vent, or even a busy hallway creates a draft. This invisible current pushes the flame to one side, making it flicker and dance erratically.
This isn't just about aesthetics. A flickering flame delivers heat unevenly across the wax surface, causing one side of the jar to melt much faster than the other. Before you know it, you've got a nasty tunnel forming, and all that precious wax along the sides is wasted. That unstable flame can also produce soot, leaving black streaks on your otherwise beautiful container.
A quick way to check for drafts is to simply watch the flame. If it’s a steady, teardrop shape, you're golden. If it’s flickering wildly or leaning hard to one side, it’s time to find a new, more peaceful spot for your candle.
Find a Flat, Stable, and Safe Surface
This might sound like common sense, but it bears repeating: your candle needs to sit on a surface that is completely flat, stable, and heat-resistant. Even a slight tilt will cause the melted wax pool to collect on the lower side. When this happens, the wick can drift and eventually get swallowed up by the deep wax—a frustrating problem we call a "drowned wick."
A drowned wick is a real pain. It will struggle to stay lit on future burns and often extinguishes itself just moments after you light it. Always place your candle on a level surface to keep that melt pool perfectly even. And of course, a heat-resistant surface protects your furniture from any potential heat damage. For some stylish and practical ideas, check out our guide on using candle holders for decor.
Mind Your Wick and Respect the Four-Hour Rule
Even in the most serene setting, a wick can sometimes wander a bit off-centre as the wax melts around it. It’s a good habit to gently "tend" to your candle after each burn. Once you've extinguished the flame and while the wax is still liquid, use a wick dipper or even a pair of tweezers to carefully guide the wick back to the centre of the jar. This simple adjustment sets you up for an even burn next time.
Finally, while you want to let the candle burn long enough to get that full melt pool, there's a limit. Over-burning is just as bad as under-burning.
Just remember the four-hour rule:
- Never burn any candle for more than four hours at a time. Any longer, and you risk overheating the entire container.
- An overheated jar can actually degrade the quality of the wax and the fragrance oils.
- Excessive heat also makes the wick unstable, causing it to "mushroom" too much or sink into the very deep pool of melted wax.
Sticking to this rule is a simple but critical step for both safety and performance. By giving your candle a calm, stable, and draft-free home, you’re setting it up for a long and beautiful life, ensuring you can enjoy its gorgeous fragrance down to the very last drop.
How to Fix Common Candle Burning Problems
Even when you do everything right—that crucial first burn, a perfectly trimmed wick—candles can sometimes have a mind of their own. A sudden draught, or maybe you just forgot to blow it out on time, can lead to frustrating issues like tunnelling or a sputtering flame.
The good news? Most of these common problems are surprisingly easy to fix. You almost never have to give up on your favourite scent. This little troubleshooting guide will walk you through the most frequent issues, giving you simple, effective solutions to rescue your candle and get it burning beautifully again.
The Ultimate Fix for Candle Tunnelling
Ah, tunnelling. It's the most common candle complaint out there—that stubborn ring of hard wax that clings to the sides while the centre burns deeper and deeper. If this happens, don’t despair. It’s time to break out the famous aluminum foil trick. This method is a total game-changer for resetting your candle’s surface memory.
Here’s how it’s done:
- Trim First: Before you do anything else, make sure the wick is trimmed to about 1/4 inch. This gives you a clean, manageable flame to work with.
- Build a Foil Dome: Tear off a piece of aluminum foil and wrap it around the top of the candle jar, folding it over the top to create a dome-like cover.
- Leave a Vent: Crimp the foil to keep it in place, but leave an opening in the centre, right over the wick. About an inch or two is perfect. This lets oxygen in but traps the heat.
- Light It Up: Carefully light the candle and let it burn for about 1-2 hours. You’ll want to keep a close eye on it during this time.
The foil works by trapping the flame's heat and reflecting it down onto the wax. This concentrated warmth gently melts that hard, stubborn ring along the sides, allowing it to finally merge with the central melt pool. Once the entire surface is liquid, you’ve done it! You’ve successfully reset your candle.
Carefully extinguish the flame, remove the hot foil with tongs, and let the wax cool and solidify on a perfectly flat surface. For a more detailed walkthrough, our post on how to fix candle tunnelling has even more tips.
Rescuing a Drowned Wick
A "drowned" wick that just won't stay lit is another common headache. This usually happens when a candle burns for too long (over four hours), creating a melt pool so deep it extinguishes the short wick. It can also happen if the wick wasn't properly centred to begin with.
To save it, you have a couple of options. The easiest fix involves a paper towel. Just gently press a folded piece of paper towel into the wax pool near the wick to soak up the excess liquid wax. Remove the soaked paper and repeat until enough of the wick is exposed to hold a flame.
If the wax has already hardened over the wick, you can carefully carve out a little bit of wax from around it with a butter knife or a wick dipper. The goal is simply to expose enough of the wick so you can light it again.
Dealing with Soot and Flickering Flames
Noticing black smoke or soot stains forming on your candle jar? The culprit is almost always the wick or its environment. A wick that’s too long will pull up more fuel than the flame can burn efficiently. This incomplete combustion is what produces that pesky soot.
Key Takeaway: A flickering, smoky flame is a clear signal that something is wrong. It's usually caused by a wick that's too long or a draft. Extinguish the flame, let it cool, and address the cause.
The solution is straightforward: blow out the candle, let it cool completely, and trim the wick down to its ideal 1/4-inch height. You should also be sure to pinch off any "mushroom" of carbon that has formed on the tip.
Finally, take a look at where your candle is sitting. A flame that dances and flickers wildly is a dead giveaway that it’s in a draught. Moving it to a calmer spot will not only stop the sooting but will also help it burn much more evenly, preventing future problems.
This infographic breaks down the simple environmental checks you can perform to prevent many of these issues from happening in the first place.
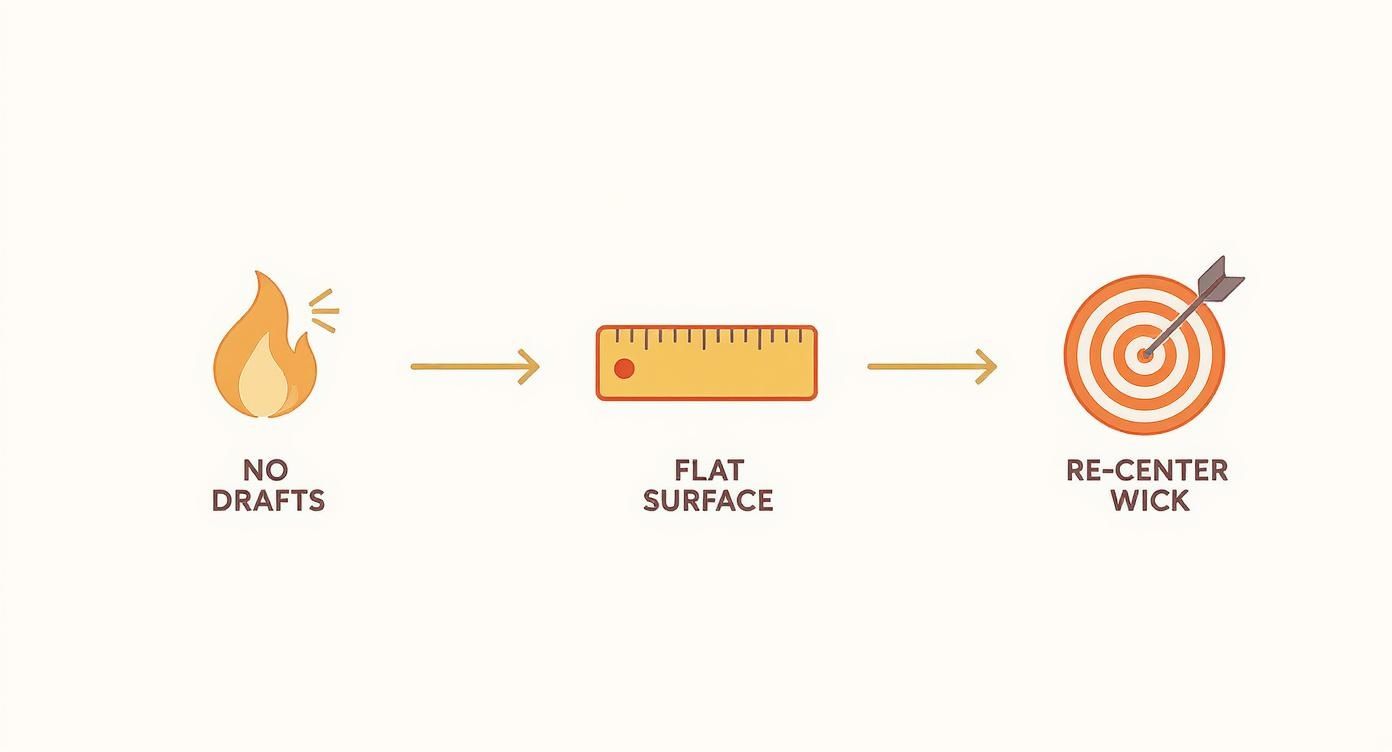
As the visual shows, a perfect burn often comes down to controlling your environment—eliminating draughts, ensuring a level surface, and re-centring the wick.
Quick Fixes for Common Candle Issues
When your candle starts acting up, a quick diagnosis can get you back on track. This table helps you pinpoint the problem and find the right solution fast.
| Problem | Primary Cause | Solution |
|---|---|---|
| Tunnelling (wax ring on sides) | The first burn was too short, or a recent burn was too brief. | Use the aluminum foil trick to melt the entire surface. Burn for at least 2-3 hours next time. |
| Drowned Wick (wick won't stay lit) | Melt pool is too deep, extinguishing the flame. | Absorb excess wax with a paper towel or carefully carve out hardened wax around the wick. |
| Sooty Jar (black marks on glass) | The wick is too long, or the candle is in a draughty spot. | Extinguish, cool, and trim the wick to 1/4 inch. Move the candle to a draught-free area. |
| Flickering Flame (flame dances wildly) | The candle is in a draught from a window, vent, or fan. | Move the candle to a calmer location away from any air currents. |
| Mushrooming Wick (carbon buildup) | The wick is too long or wasn't trimmed before the last burn. | Extinguish the flame, let the wick cool, and trim off the "mushroom" top. |
With these tips in your back pocket, you can handle almost any issue that comes your way. A little bit of care goes a long way in ensuring you get to enjoy every last drop of your favourite soy candle.
Your Top Candle Questions Answered
We’ve walked through the essentials for getting that perfect, clean burn, but let's be real—sometimes candles have a mind of their own. Experience has taught us that a few common issues tend to pop up, even when you think you're doing everything right. Here are some answers to the questions we hear most often.
Why Is My Soy Candle Tunnelling Even After a Long First Burn?
It’s one of the most frustrating candle problems. You followed the first-burn rule to the letter, letting it burn for hours, only to see it tunnel on the next light. What gives?
Nine times out of ten, the culprit is an invisible draught. A slight air current from a vent, an open window, or even just a busy hallway can make the flame flicker and lean to one side. This creates an uneven melt pool that starts the tunnelling process.
Another thing to check is your wick’s position. After you extinguish the flame, and while the wax is still liquid, take a peek. Has the wick drifted off to one side? Gently nudge it back to the centre with a wick dipper or a pair of tweezers. If the problem keeps happening, it might be an issue with the candle itself—a wick that's just too small for the jar's diameter can't generate enough heat to melt the wax all the way to the edges, especially in a cooler room.
What Is the Ideal Burn Time for My Candle?
For that all-important first burn, a good rule of thumb is to allow one hour of burn time for every inch of the candle's diameter. So, a 3-inch wide candle needs a solid 3-hour first burn.
For every burn after that, the goal is simply to keep it lit long enough for the melted wax to reach the sides of the container again. This maintains the candle's "burn memory" and is the best way to prevent future tunnelling.
But there’s a catch: never let a candle burn for more than four hours straight.
Burning a candle for more than four hours can seriously overheat the container. This not only compromises the delicate fragrance oils but can also cause the wick to become unstable, leading to a dangerously large flame. It’s a hard-and-fast rule for both safety and getting the most life out of your candle.
Can I Really Fix a Badly Tunnelled Candle?
Yes, you absolutely can! A deep tunnel might look like the end of the road, but a little trick with some aluminum foil almost always does the job. It’s a go-to rescue mission for any candle enthusiast.
Here’s how you do it:
- First, trim the wick down to about 1/4 inch (6mm).
- Next, wrap a piece of foil around the top of the jar, folding it over the edges to create a sort of dome. Make sure to leave a small opening at the very top for the flame to breathe.
- Light the candle and let it burn for an hour or two. The foil will trap the heat, gently melting that stubborn ring of hard wax around the sides.
Once the entire top layer of wax is liquid, carefully remove the foil (it will be hot!), extinguish the flame, and let the wax cool and solidify. Your candle’s surface should be reset and ready for a fresh start.
Why Is My Candle Smoking and What Should I Do?
A high-quality, well-maintained candle shouldn't be smoking. If you see little puffs of black smoke or notice soot building up on the glass, the wick is almost always the problem—it's too long. A long wick creates a big, unsteady flame that can't burn its fuel efficiently, which results in soot and smoke.
The fix is incredibly simple. Extinguish the flame, let everything cool down completely, and trim the wick to its happy place: 1/4 inch (6mm). While you're at it, knock off any black, mushroom-like carbon buildup that might have formed on the tip. A quick check to ensure the candle isn't in a draught doesn't hurt, either, as that can also cause a flame to smoke.
Of course, your candle journey might extend beyond just burning them. If you've ever thought about selling your own creations, you'll need to know the ins and outs of getting them to customers safely. You can find some great advice on how to ship candles to ensure they arrive in perfect condition.
At Shivora Candles, we believe enjoying a luxury candle should be a simple, beautiful experience from the first light to the last. Our hand-poured soy candles are crafted with premium wicks and clean-burning wax to help you achieve that perfect, even burn every single time. Discover your new favourite scent and transform your space by visiting ShivoraCandles.com.

