


Learning how to make your own candle wicks is a surprisingly straightforward process. At its core, it's about braiding natural cotton string and then giving it a good coat of melted wax. Mastering this skill gives you the freedom to customize the wick size for any candle you can dream up, which is the secret to a cleaner, more efficient burn than you’ll often get with standard store-bought options.
Why Making Your Own Candle Wick is Worth It
Before we jump into the "how-to," let's talk about why this is such a game-changer for anyone serious about making candles. This isn't just about saving a few dollars; it's about taking complete control over how your candle performs and, just as importantly, how safe it is. A wick you've made yourself, perfectly tailored to your container and wax, is what takes you from hobbyist to artisan.
This level of control is what ensures your candles not only look beautiful but burn beautifully and safely, too. It’s the kind of quality and commitment that truly defines a well-made candle.
Elevate Your Candle's Quality and Safety
One of the biggest wins when you make your own wicks is knowing exactly what's in them. No hidden metals, no questionable synthetic fibres. Back in 2020, the Canadian government tightened its candle safety guidelines, making it mandatory for all wicks to be free of lead and other toxic metals. This was a huge shift for the industry, and by 2023, nearly 98% of Canadian-made wicks were certified lead-free. When you make your own, you're meeting these high safety standards right from the get-go.
A custom wick also makes a massive difference in burn performance, especially if you're working with natural waxes like soy. You can create a wick that's sized just right to prevent common frustrations like tunnelling or sooting—problems you often see with generic, pre-made wicks. Understanding this is key to producing the kind of clean-burning candles for a healthier home.
The ability to create a wick perfectly matched to your vessel and wax type is what separates a good candle from a great one. It’s the secret to achieving that full, even melt pool and a steady, bright flame every single time.
On top of all the practical perks, there's something incredibly satisfying about the craft itself. Making your own wicks fosters a deeper connection to the entire creative process. In fact, many people discover there are real the mental health benefits of DIY projects that come from this kind of hands-on hobby.
Your Wick-Making Toolkit and Materials
Just like a chef preps their ingredients, getting your supplies in order before you start making wicks makes everything run so much more smoothly. Think of it as your candle-crafting mise en place—it’s the secret to a relaxed and successful making session.
The great thing about DIY wicks is that you don't need a mountain of expensive or obscure items. It's all about choosing quality over quantity. The exact list will shift a bit depending on whether you’re making classic cotton wicks or cozy wooden ones.
Core Materials for Different Wick Styles
What you choose as your base material really sets the stage for your candle's final performance. Each one creates a totally different vibe, so think about the kind of burn you're going for.
-
For Classic Cotton Wicks: Stick with 100% natural cotton twine or string. It's crucial to steer clear of anything with synthetic fibres like polyester; they don't burn cleanly and can release some nasty fumes. The thickness (or ply) of the twine dictates the final wick size, so having a few different weights on hand is a smart move.
-
For Crackling Wooden Wicks: You'll be looking for thin sheets of untreated wood. Balsa wood is a fantastic, easy-to-find option, especially when you're just starting out. As you get more adventurous, you can play around with other softwoods like cherry or maple to get different crackling sounds. Just make sure the wood is completely raw and hasn't been treated with any chemicals.
If you're building your entire candle-making kit from scratch, our guide to the top supplies for making candles is a great resource that covers everything you'll need.
Before we dive into the general tools, here's a quick look at what you'll need for each specific wick type.
Essential Supplies for Different Wick Types
| Item | Cotton Wick | Wooden Wick | General Tools |
|---|---|---|---|
| Primary Material | 100% Cotton Twine | Balsa or Softwood Sheets | |
| Base/Anchor | Metal Wick Tabs | Metal Wick Clips | |
| Adhesive | Wick Stickers/Glue Dots | ||
| Cutting Tool | Scissors | Craft Knife/Blade | |
| Crimping Tool | Pliers | Pliers | |
| Priming | Dipping Wax | Brushing Wax | Small Melting Pot |
This table should give you a clear shopping list. Most of these items are easily found at craft stores or online, and many are things you might already have at home.
Essential Tools of the Trade
Beyond the twine and wood, a handful of simple tools will make your life a whole lot easier during assembly.
You'll definitely want to have these nearby:
- Wick Tabs (or Sustainers): These are the little metal discs that get crimped onto the bottom of a cotton wick. They’re absolutely essential for giving it a stable base so it stands up straight in the hot wax.
- Pliers: A good pair of needle-nose pliers is your best friend here. They give you the perfect grip for crimping the tab tightly onto your wick.
- Sharp Scissors: There's nothing worse than a frayed cut. Sharp scissors are a must for trimming your twine or wood cleanly and precisely.
- A Small Pot or Double Boiler: You’ll need this to melt a bit of wax for priming your wicks. I always recommend having a small pot that's dedicated just to your wax crafts—it saves a lot of cleanup trouble later!
Remember, your toolkit is personal. Start with these basics, and as you get more comfortable and start experimenting, you can add more specialized gear. The goal is to have tools that help your creative process, not make it more complicated.
Making a Classic Braided Cotton Wick
Alright, let’s get our hands waxy. Making your own braided cotton wick is one of the most satisfying parts of candle making. It really connects you to the craft and gives you ultimate control over how your candle burns. This is a time-tested method, a favourite for a reason—it’s reliable, surprisingly versatile, and harks back to how candles were traditionally made. We'll walk through everything from prepping the cotton to that crucial final dip in wax.
The kind of wick you make has a massive impact on the candle's performance, so getting this right is a skill worth mastering. Before we jump in, it helps to see the big picture of how all the pieces fit together.
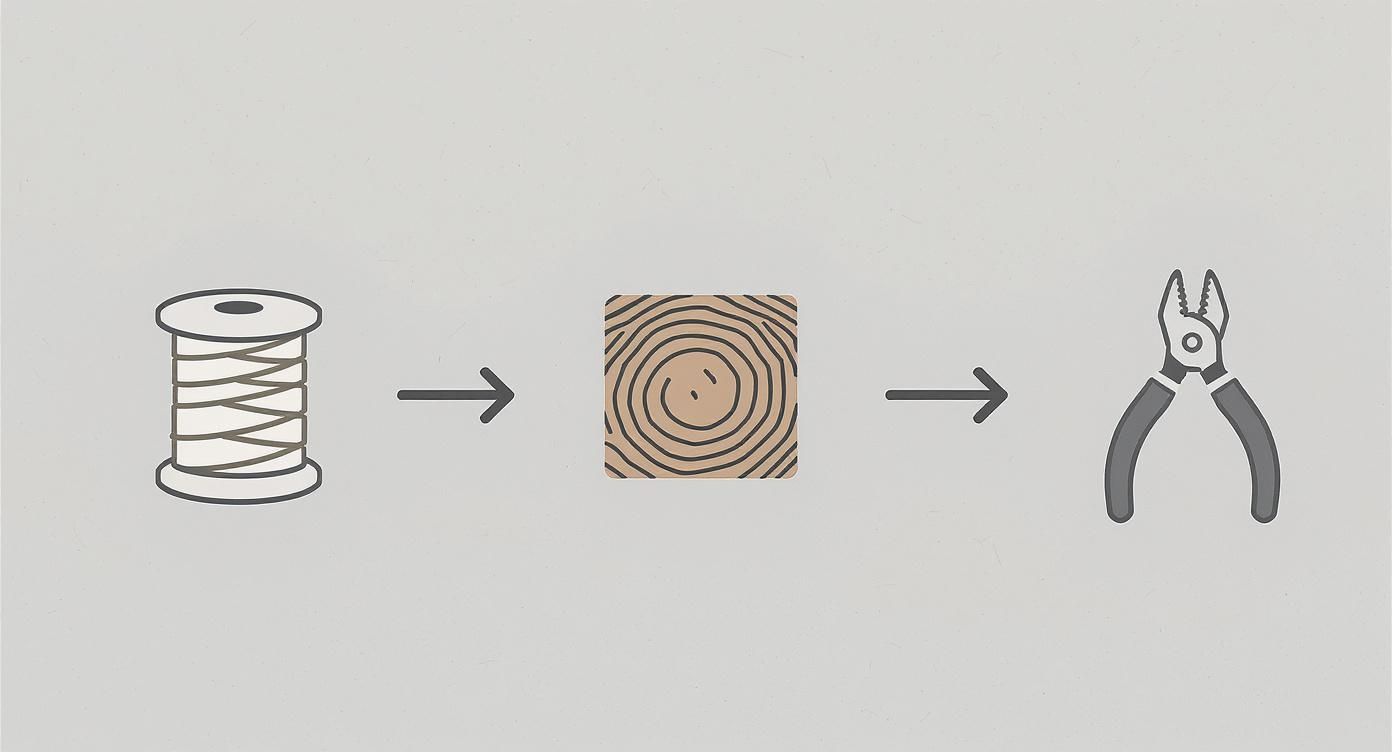
This gives you a good look at the journey from raw materials, like cotton and wood, to the tools you'll need. These initial choices are the foundation for creating a candle that’s truly your own.
Measuring and Braiding Your Cotton Twine
First things first, you need to measure and cut your cotton twine. I always recommend cutting three strands that are at least 5-6 inches longer than your candle jar is tall. That extra length is your friend—it gives you plenty of slack for braiding, securing the wick, and trimming it down later without any frustration.
Once you have your three strands, tie them together at one end with a simple knot. Now, you can start braiding them just like you would braid hair. The real secret here is to keep your tension consistent. A nice, tight braid creates a strong wick that will pull wax up smoothly and give you a steady flame. If your braid is loose or uneven, you'll likely end up with a sputtering, unreliable burn.
The final thickness of your braided wick is what really matters.
- For smaller jars (around 2-3 inches in diameter): A simple three-strand braid with standard cotton twine is usually perfect.
- For wider containers (4+ inches): You’ll need to go bigger. Try using a thicker twine or even braiding six strands together to get a wick that’s robust enough to create a full melt pool.
This ability to customize the size is exactly why making your own wick is so rewarding.
Attaching the Wick Tab
With your braid finished, it’s time to secure it with a metal wick tab (sometimes called a sustainer). This little metal disc is absolutely essential. It acts as an anchor, keeping your wick centred and standing upright at the bottom of the jar as the wax around it melts.
To attach it, just thread the unknotted end of your wick through the small opening in the tab. Grab a pair of needle-nose pliers and give the neck of the tab a firm squeeze to crimp it tightly onto the wick. Give it a gentle tug to make sure it’s not going anywhere. A loose tab is a serious safety risk, as it could allow the wick to float to the side of the jar.
Think of a securely crimped wick tab as your candle’s foundation. It’s what ensures the wick stays put, preventing it from tipping into the hot wax. This is non-negotiable for a safe, even burn from the first light to the last.
Priming Your Wick in Natural Wax
The last and arguably most important step is priming. This is simply the process of coating your new wick in melted wax. Priming does two things: it makes the wick stiff and easy to handle when you place it in your container, and it provides the initial fuel for the flame to catch easily and burn steadily.
In a double boiler or a small pot dedicated to wax, melt down a small amount of your chosen wax—soy and beeswax are both fantastic for this. Dip your finished, tabbed wick right into the melted wax, making sure it’s completely soaked. I like to leave it in for about 30-60 seconds to ensure it's fully saturated.
Then, carefully lift the wick out, pull it straight, and lay it flat on a sheet of wax paper or aluminum foil to cool. Once it hardens, it’s ready to go. A well-made wick sets the stage for a great candle, but maintenance is just as important. Keeping that wick trimmed is key, a topic we dive into in our guide on using a candle wick trimmer.
Crafting Wooden Wicks for a Soothing Crackle
There’s something truly special about wooden wicks. They bring a modern, rustic touch to any candle, but the real charm is that gentle, crackling sound they make—just like a tiny fireplace. Learning how to make a candle wick from wood is surprisingly straightforward, and it’s a fantastic way to add a captivating, multi-sensory experience to your homemade candles.
Let's walk through how to craft your own wooden wicks, from picking the right material to getting that perfect, beautiful burn.
Unlike their braided cotton cousins, wooden wicks burn differently. They typically produce a lower, wider flame that creates a fantastic melt pool across the entire surface of the candle, which is why they work so well with soy wax. The secret is all in the preparation. A little effort upfront is what gives you that signature, soothing crackle.
Choosing and Cutting Your Wood
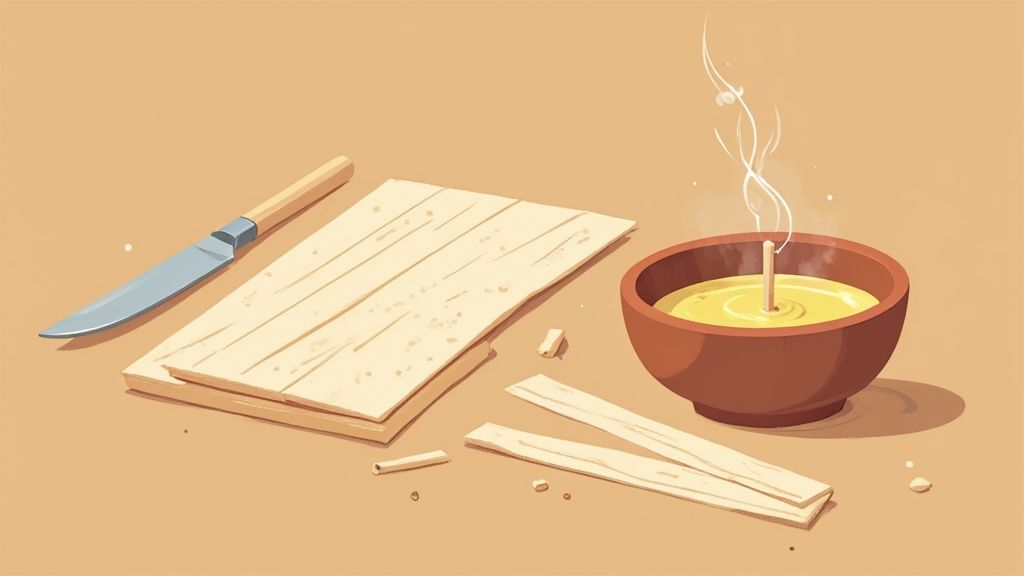
First things first, you need to select the right kind of wood. Look for thin, untreated softwood sheets that are pliable enough to absorb oil or wax easily. Balsa wood is a very popular and accessible choice, especially if you're just starting out. You can also experiment with cherry, maple, or oak for a wonderful effect. Most craft or hobby shops will carry what you need.
Once you have your wood, it's time to cut it into uniform strips. A simple craft knife and a ruler are the best tools for the job.
- Width: The width of your wick is what really determines the size of the flame. For a standard 3-inch diameter candle, a strip about 1/2 to 3/4 inch wide is a great starting point.
- Height: You'll want to cut the wick so it stands about 1/2 inch taller than your candle container. This extra bit gives you something to hold onto when placing it and can be trimmed down later.
Try to be as precise as possible here. Cutting even, straight strips is key to ensuring the wick burns predictably and doesn't start leaning to one side, which can cause an uneven melt.
Soaking and Preparing the Wicks
This next step is what really turns a simple piece of wood into a functional candle wick. Soaking the wood in a carrier oil helps it light easily and, more importantly, sustain a flame. I find that warm olive oil is a fantastic, natural choice for this.
Just place your cut wicks in a shallow dish and pour enough warm olive oil over them to cover them completely. Let them soak for at least 20 minutes, though from my experience, letting them sit for an hour or more often results in a much more consistent burn. This soaking process is what allows the wood to effectively draw the melted wax up to the flame.
When they’re done soaking, pull the wicks out and lay them on a paper towel to blot away any excess oil. They should feel saturated, but not be dripping wet.
A well-soaked wooden wick is the key to a strong, steady flame and that signature crackle. If your wick struggles to stay lit, it's often because it wasn't soaked long enough or the wood is too dense.
Securing Your Wooden Wick
The final step is getting your wick secured in its metal clip and centred in your container. Slide the bottom of the oily wood strip into a metal wick clip, then use pliers to give it a gentle pinch so it’s held firmly in place.
Next, stick a wick sticker or a small dab of hot glue onto the bottom of the metal clip. Press it firmly into the exact centre of your candle jar, and you're all set to pour your wax.
That unique ambiance from a crackling fire is a truly special addition to any space. If you'd like to explore more options, have a look at our list of the top candles that crackle for cozy, relaxing nights.
Perfecting Your Wick Size with Burn Testing
You’ve successfully made a wick—that’s a huge step! But the real craft of candlemaking comes alive in the testing. This is where you transform a good candle into a great one by perfecting how your homemade wick performs. It’s all about finding that perfect balance between your wick, wax, fragrance, and vessel to ensure a beautiful, safe, and efficient burn.
Think of a burn test as your candle’s diagnostic check-up. It reveals everything you need to know, allowing you to catch common problems like tunnelling or sooting before you commit to making a whole batch. Honestly, mastering this process is what separates the casual hobbyist from the expert artisan.
Conducting Your First Burn Test
Alright, let's get started. Place your candle on a heat-safe surface, well away from any drafts, and light it up. This first burn is incredibly important. You’ll want to let it burn for at least 3-4 hours, or long enough for the melted wax to reach the edges of the container. This initial burn sets the "memory" for all future burns and immediately tells you if your wick is sized correctly.
As it burns, keep an eye on a few key things:
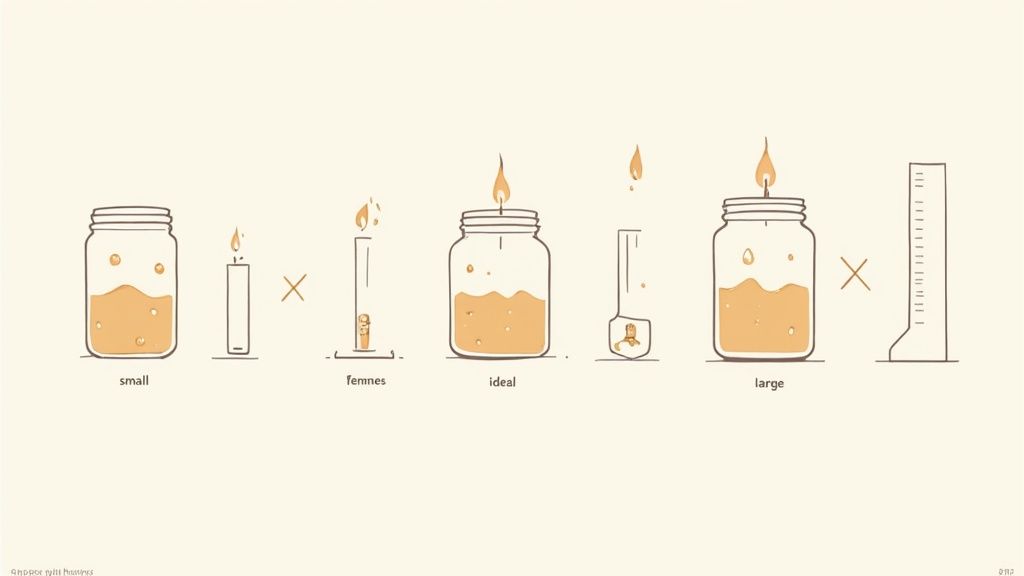
- Melt Pool Depth: The ideal melt pool should be about 1/2 inch deep and span the entire diameter of the container. A full melt pool is the secret to an even burn throughout the candle's life.
- Flame Height: Look for a steady, calm flame. It shouldn't be much taller than 1 inch. If it’s flickering wildly or looks like a miniature bonfire, that’s a red flag.
- Sooting: Notice any black smoke or soot gathering on the inside of the glass? A well-matched wick will produce little to no soot.
Learning to read these signs is a skill you’ll develop with practice. It’s no surprise that a 2021 survey found 72% of Canadian candle makers honed these exact skills through workshops and mentorships, proving the value of hands-on learning.
Interpreting the Results and Making Adjustments
Once the first test is done, the results will point you in the right direction. It's really just a simple process of elimination.
Is your candle tunnelling? That’s when it burns straight down the centre, leaving a stubborn ring of hard wax around the edges. This means your wick is too small; it just isn't generating enough heat to melt the wax all the way out. The solution is simple: make a slightly thicker wick. Try braiding an extra strand of cotton or opting for a wider strip of wood. For a deeper dive into this classic candle problem, check out our guide on how to make candles burn evenly.
On the flip side, if you see a huge, dancing flame or black soot marks creeping up the glass, your wick is too big. It's burning through the wax and fragrance oil way too fast. To fix this, you just need to craft a thinner wick.
Key Takeaway: The whole point of burn testing is to find that sweet spot—where the wick burns through wax at the same rate the heat melts it across the surface. Don’t get discouraged if it takes a few attempts to nail it.
Every test you run is a learning opportunity. I highly recommend keeping detailed notes on your wick size, wax type, fragrance load, and container diameter. This logbook will become your go-to guide, making future projects so much smoother and helping you perfect your method for creating flawless wicks every single time.
Common Questions About DIY Candle Wicks
Once you start making your own wicks, you’ll naturally run into questions. It’s a craft with a few important variables, and getting them just right is what makes a candle burn beautifully and safely. Let’s walk through some of the most common things people ask, so you can fine-tune your technique.
Getting these details right is what separates a simple homemade candle from a truly artisanal one. It’s how you ensure every candle you pour is not just a lovely object, but a safe and effective one, too.
What Is the Best Material for a Homemade Candle Wick?
For a reliable, clean burn every time, you can't go wrong with 100% natural cotton twine. It's easy to find, affordable, and works brilliantly, especially when you prime it with natural waxes like soy or beeswax.
If you're after that cozy, crackling sound, thin strips of untreated softwood are a fantastic choice. Balsa wood is a popular and accessible option, but other woods like cherry can also create that signature, soothing sound. The golden rule is to always stick with natural, untreated fibres and woods.
Why Do I Have to Prime My Candle Wick?
Priming your wick—which just means coating it in melted wax—is an absolutely essential step. You really can't skip it. It does two crucial things for your candle's performance.
First, it gives the wick some rigidity, making it way easier to handle and place dead-centre in your container. More importantly, that wax coating acts as the flame's first meal. It helps the flame catch properly and start creating an even melt pool right from the get-go. An unprimed wick often sputters out before it can even begin to melt the surrounding wax.
Think of priming as building a bridge. It connects the initial spark of the lighter to the candle's main fuel source—the wax. Without that bridge, the flame has nothing to burn and will likely extinguish itself.
How Do I Figure Out the Right Wick Size?
Wick sizing is definitely more of an art than an exact science. The perfect size depends on the diameter of your container, the type of wax you're using, and even how much fragrance oil you've added. The only way to be 100% sure you've nailed it is to do a burn test.
As a starting point, for a standard 3-inch diameter jar with soy wax, a medium-thick braided cotton wick is a good place to begin your experiments. A successful test means you have a full melt pool (melted wax reaching the edges of the jar) within 2 to 4 hours.
Here's what to look for during your test:
- Tunnelling: If the wax is only melting down the centre, your wick is too small.
- Sooting or a large, wild flame: Seeing black smoke or a flame that's dancing too high means your wick is too big.
Can I Use Any Random String to Make a Wick?
Definitely not. This is a big one for safety. It is critical that you only use 100% natural fibres like cotton, hemp, or jute for your wicks.
Synthetic materials like polyester or nylon are a serious no-go. They don't absorb and draw the wax upward; they just melt. This can release toxic fumes and create a significant fire hazard. Always, always double-check that your twine or string is a natural, untreated fibre before you even think about turning it into a wick.
At Shivora Candles, we believe in the beauty of a perfectly crafted, clean-burning candle. Explore our collection of hand-poured soy wax candles to experience the difference quality makes. Discover your new favourite scent today.